Last week, I had the privilege to teach at the A Girl And A Gun national conference for the 4th year in a row. It was in beautiful Grand Junction Colorado at the Cameo Shooting Complex and it was another incredible experience.
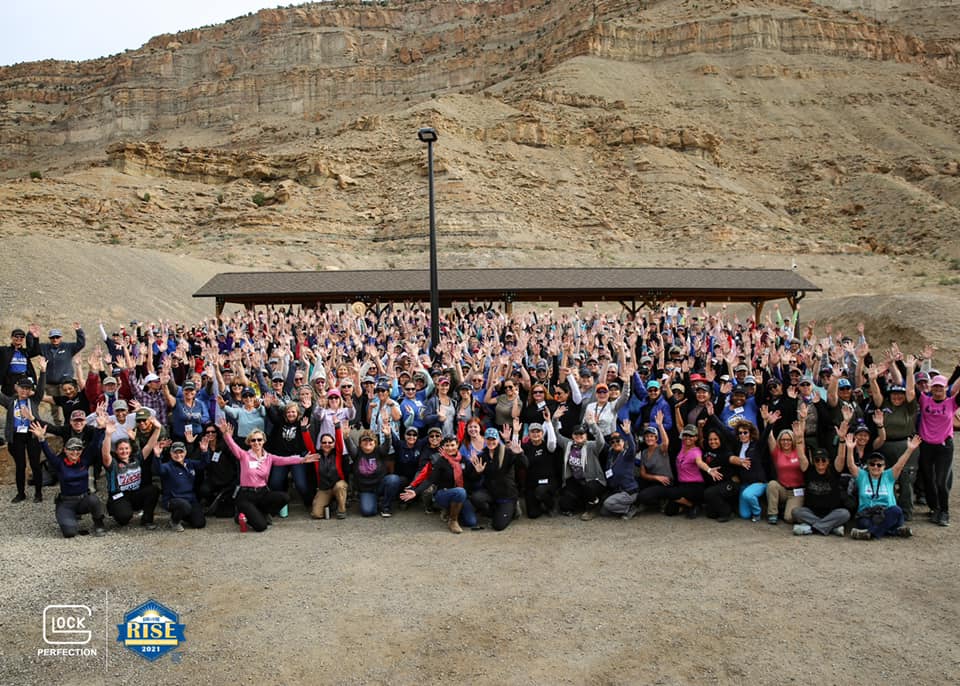 450+ women shooters from all 50 states took blocks of instruction on everything from situational awareness, instructing, empty hands combatives, pistol, rifle, shotgun, force-on-force, engaging targets out to 2000 yards, working/shooting around cars, shooting from helicopters, and more. Some trained for 3 days, others for 5 or more.
Instructors came from all walks of life…civilian, law enforcement, military, former Olympians, professional shooters, and more.
And–really cool–we were supported by an incredible group of volunteer Range Donkeys (husbands) from around the country, as well as a few dozen volunteer RSOs from Cameo.
The event was put on by Julianna Crowder and Robyn Sandoval and they knocked it out of the park again.
I taught 6 half-day sessions this year…
Three were on tactical vision training with some balance, hand-eye coordination and movement integration as well.
We covered several topics on how to improve visual performance, the connections between vision, strength, and speed, how to correctly identify and stabilize eye dominance (the triangle-in-front-of-your-eye is incredibly unreliable), both eyes open shooting, and integrating vision, balance, and hand-eye coordination.
One of the big topics that we kept coming back to was the idea that bad sensory input = bad motor output, stress, and pain.
If the areas of the brain responsible for vision, balance, or hand-eye coordination are under-performing, the brain interprets it as a threat.
This increases the stress level we feel, increases perceived pain, impacts blood sugar levels, slows down reaction times, reduces speed, and reduces the percentage of muscle fibers that your brain is willing to activate when you flex.
In many cases we were able to lower the threat level in the brain and see immediate improvement in mobility, less pain, improved visual performance, and improved shooting performance. This resulted in some big hugs, lots of smiles, and some almost-tears, as some of them had been dealing with issues for years that they hadn’t been able to figure out.
Eye dominance was a big breakthrough for several shooters who had been mis-assessed for eye dominance in the past, which is incredibly common.
Eye dominance is really simple when the sights line up with the middle of a pupil, but 30ish% of the time, the sights line up with the corner of the eye rather than the pupil (and this alignment is unstable) and 10ish% of the time, the sights line up with the bridge of the nose and can switch back and forth between the eyes.
Traditional eye dominance tests force dominance assessments to one eye or the other and can create a TON of frustration for shooters with visual suppression issues or cyclopian dominance.
Simply put, if you imagine what the target sees as it looks back over the top of your sights at you as you’re shooting, the target should see your sights lining up with one pupil or the other. If the sights don’t line up with one pupil or the other each time the shooter presents the firearm, it introduces randomness and frustration.
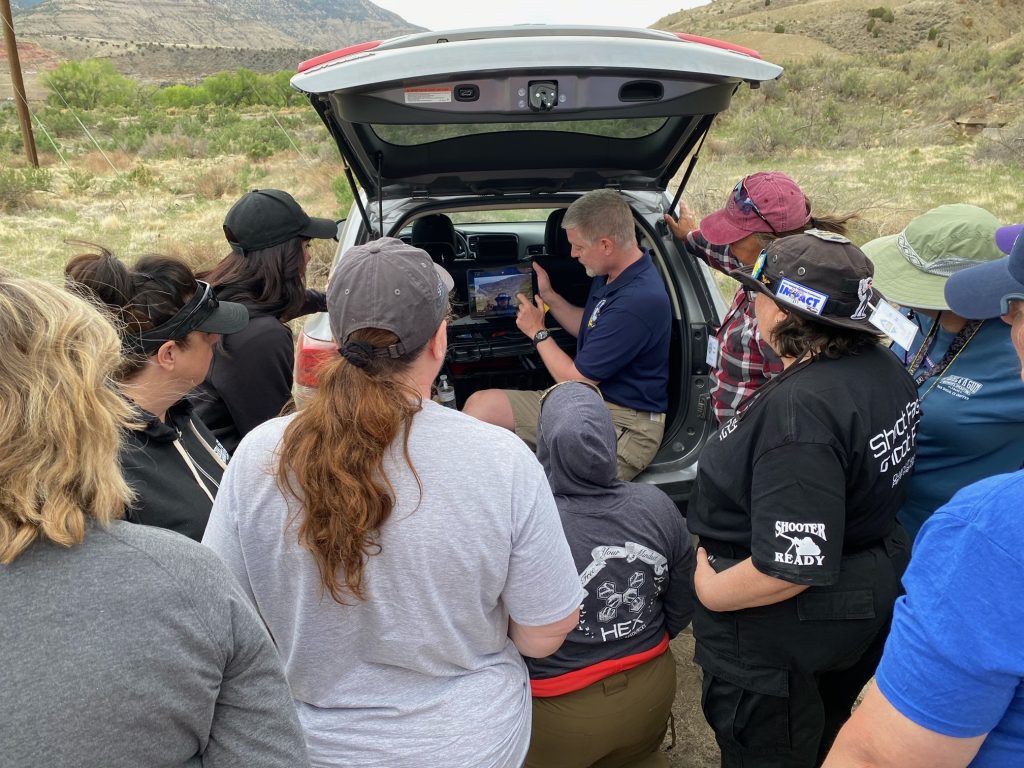
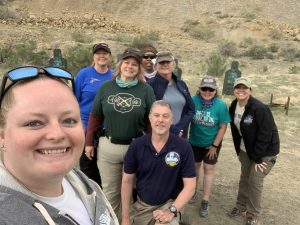
We cover how to address this in the See Quicker Shoot Quicker course and the results can be quick and dramatic. Here’s a pic of us going over an assessment of each shooters’ eye dominance.
We covered movement of the eye, how moving the eye in different directions causes some muscles to be stronger and others weaker, and how past concussions and under-use can lead to moving the eyes in certain directions to be interpreted as a threat to the brain.
In these cases, simple movements of the eye can cause some shooters to immediately notice joint pain, headaches, dizziness, reduced flexibility, or nausea–this should not happen, but in reality it’s fairly common and can be a big reason for negative associations with shooting.
As an example, for some people, looking up like you would when you’re going up stairs or shooting from the prone position can cause dizziness.
For others, it may be looking down like you would when you go down stairs, tie your shoes, glance down at trip hazards, OR, when simultaneously tilting the head up and looking down, like what is common for shooters with progressives and bifocals.
For officers, it’s not uncommon for low-right glances (looking at their computer in their car) to cause an issue.
So we discussed ways to identify these stumbling blocks and the steps to remove them to improve shooting performance.
Several of the women came into the class having difficulty shooting with both eyes open.
Shooting with both eyes open doesn’t really matter for slow-speed or low-stress shooting, because you can simply close one eye. But both-eyes-open shooting is pretty darn important for self-defense shooting.
Not because of situational awareness, but because of the impact of closing one eye on how quickly and accurately you can see…ESPECIALLY in low light.
In full light, closing one eye can reduce reaction times by 10-30% and that reaction delay goes up as ambient light goes down.
In addition, closing one eye reduces the speed and accuracy at which we can process dynamic visual situations…simply put, keeping both eyes open allows us to see whether a potential threat that we’re covering becomes an immediate threat that we need to shoot faster and more accurately.
Having both eyes open also allows us to see whether presenting our firearm causes a clear and present threat to no longer be a threat…again, faster and more accurately.
We had some awesome results with some of the women…some good results with some…and doing the versions of the drills that we did for 3.5 hours was too much for others.
Why didn’t everyone improve?
A couple of reasons…
In the first session, the temperature jumped up at least 20 degrees from beginning to end. I was feeling the effects and so were some of the women. Probably a bigger factor, though, was that I went against my own rule and added in a few extra drills to “add more value” and it proved to be too much at one time.
In the other classes, it was simple “overload” in some cases. If you think of learning or brain training the same as you would weight lifting, it makes sense. There are two ways this can play out.
First, if you can work out with 200 pounds and decide to work out with 1 pound weights, you’ll get very little benefit. If you try to work out with 300, it will be too far beyond where you’re comfortable and your brain/body will have a negative reaction. But if you lift in the 204-208 pound range, it will be just far enough outside of your comfort zone that you optimize growth.
Second, if you’ve got an injured bicep and I have you do curls right before we do a shooting re-assessment, it’s not going to go as well as if we did a drill that you knocked out of the park.
So we discussed how they could train when they got home to see the improvement they were looking for…how to properly combine drills in areas where they have issues with areas where they are strong.
That meant sharing different versions of the drills and how to incorporate “problem” drills into their training in a way to minimize frustration and maximize results.
The vast majority of this training came from the See Quicker Shoot Quicker training and some from the Automatic Aiming training…both of which you can do at home.
The other three classes I taught were counter-assault classes based on Praxis.
Because of the current situation with ammo, I developed a completely new way of teaching this over the last year or so.
To start with, we used E-Type plastic targets that I’d cut 8″ circles in with a Dremel and a “hole” attachment. (The airlines LOVE it when I travel with these 😉
I re-attached these 8″ cut-out circles to the main target with zip ties so that they’d swing freely when hit by a paintball.
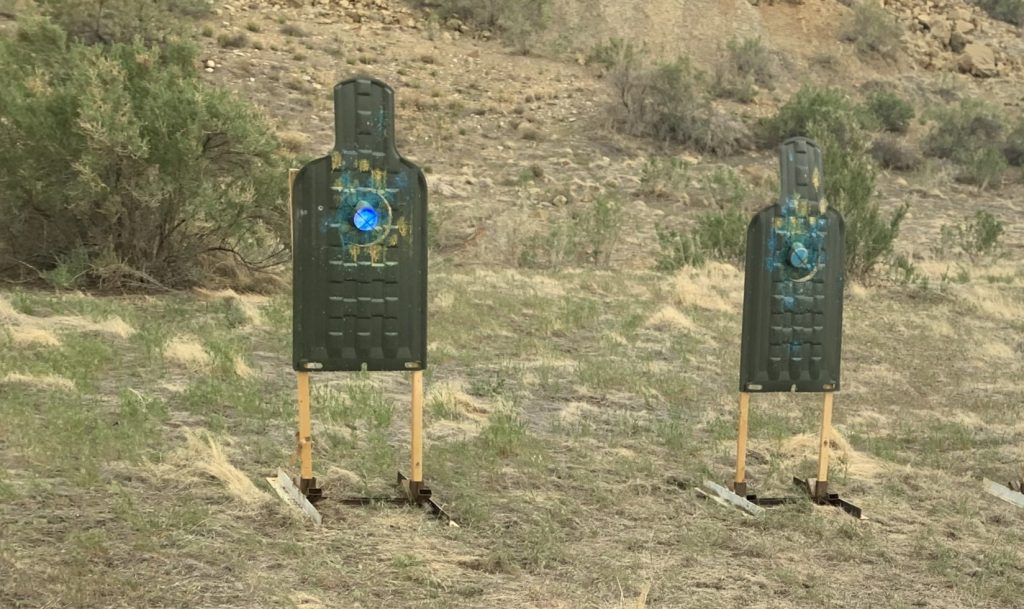
The colored circles in the middle are BlazePods and I’ll get into why we used them in just a moment…
For the guns, we used T4E .43 paintball pistols (check >HERE< for availability) and overall, they worked great. We had a couple paintballs soften up too much in the mag due to heat and break (expected) and a couple of guns start having issues due to dust buildup and not enough lube…again, that wasn’t really a surprise and just a maintenance issue. I was very happy with how they performed.
This combination of the E-Type targets, BlazePods, and T4E trainers allowed us to do some really cool training that would be extraordinarily difficult to do with live fire. This is a great example of better-than-live-fire training.
When we think about the differences between traditional training and a typical counter-assault or self-defense situation, a lot of the factors are sensory in nature.
- In training, we respond to audible cues. In real life, the decision to shoot is normally based off of visual cues.
- In training, we’re primed to shoot after the next stimulus. In real life, we need to CONSTANTLY be thinking and evaluating based on visual input.
- In training, we always draw and shoot in response to a stimulus. In real life, if we’re fortunate, a quick, confident draw may stop the threat…but we need to discern this change visually and tie that visual input to the correct motor output and minimize our chances of shooting a non-threat.
- The majority of training is done squared up with an ideal stance and a natural point of aim. In the real world, we have to perform with whatever stance (or lack thereof) and angle that we’re fed.
- In training, we usually shoot while stationary. In the real world, we either shoot while moving OR shoot as quickly after moving as possible.
- In training, crossing the feet and moving backwards are no-nos. In the real world, they’re both valuable skills that are usually only screwed up because they weren’t practiced ahead of time.
You’ll probably notice that these come from the 6 Gunfight Factors that we discuss in the Praxis Gunfight Training.
Back to the gear we used…BlazePods are multi-color, app-activated lights that turn off when they’re hit. What that meant for us was that we could use lights to create changing visual input that told us whether we should shoot or not…and they’d respond when shot.
In one of the basic drills, called red-light, green-light, the shooter simply shoots the red light and does nothing when green lights up. This sounds super-simple, but it’s not.
Initially, people prime themselves to shoot…just like you do with a beeper, but then stutter their draw when they see green (or shoot green accidentally). This is an example of a training scar that normally doesn’t show up until a real world incident or properly structured force-on-force training.
The natural response is to over-correct and react to the next few reds too slowly.
But, within a few reps, they’re accurately NOT responding to green and responding quickly to red. This is key.
This super-simple training progression with lights helps prepare shooters for both force-on-force training and real-life situations where the decision to shoot is based on changing visual input.
From this, we progressed to drawing to low ready on the first red and shooting and coming back to low ready for subsequent reds. We had a long delay between lights so that there was plenty of time for a follow-up sight picture and assessment before dropping to low ready.
These drills started off static, but then progressed to taking steps in each of the 8 cardinal directions (N, NE, E, SE, S, SW, W, NW) and responding to the red lights (with a shot) and green lights (do nothing) appropriately in whatever foot position they found themselves in rather than taking the time to get into their normal shooting stance. What this did was help them start taking fragile flat-footed technique and making it more resilient for real-world situations.
This is a HUGE hack for learning speed, because it allows you to maximize novelty and brain activation and pack hours of learning into minutes of training.
We did a few other light-based drills, but there are 2 more of note that I want to mention…
In one, we switched between red light/green light and a setup where the light would progress from red to orange to green as it was shot. I gave the instructions that they were supposed to shoot until they saw green. So, instead of having a prescribed course of fire, they have to visually assess whether the threat is still active (red/orange) or neutralized (green). I’d switch back and forth on them whether they needed to shoot 1x or 2x.
In another, we set out red, green, blue, and yellow agility markers on the ground and the light on the target alternated between those colors. The shooter would need to look at the color on the target, glance at the ground to see where that color was, and start moving towards it as they shifted their vision back up and shot. Here’s a couple of examples:
It’s hard to appreciate how mentally engaging these progressions are, and the cognitive load that they can create, until shooters try them.
I’ve found out the hard way that it’s incredibly valuable to be able to QUICKLY scan your environment for trip hazards while shooting on the move. The quicker and more accurately you can glance at the ground and get your eyes back in the fight, the more effective you can be.
You can check out the at-home version of this training by going >HERE<
Overall, it was a great weekend and an incredible group of women. Some quick feedback from 3 of them:
Liz said, “A big “thank you” to Mike Ox of Dry Fire Training Cards for an incredible class at the national conference for A Girl And A Gun in Grand Junction, CO this weekend! 🙂”
From Rene, “This was an amazing Class!!! It is based on Performance neurology. We did drills with our vision to help us get on sights and target quicker! And it works!”
And Tina, “Thank you again for a wonderful training session.”
Julianna, Robyn, Tatiana, and the rest of the A Girl and A Gun crew have done an incredible job of advancing womens’ shooting, with AGAG women-only shooting and training chapters from coast to coast, 2 national events per year, Back The Women In Blue training, and 2A work with The DC Project. What they’re doing is absolutely critical for the future of our right to own firearms and the freedoms that those firearms protect.
If you’re a woman, I want to strongly encourage you to get to an event like this (click HERE for more info). It’s great for women to shoot with men, but it’s especially valuable for women to spend time shooting with other women. The dynamic can be a huge help for many female shooters. Not watered down…just different.
In fact, one of the biggest reasons why woman only shooting events are so valuable is because there are no men around to coddle them. (The male instructors were all on board with this) At a woman’s only event, the women load their own mags, rack their own slides, haul their own gear, etc. When things don’t work, there are other women to share solutions that worked for them, but the goal is to help every woman be safe, competent, and capable with the guns they own or carry.
Why is this so important and why am I such a strong supporter of women’s shooting?
Because to a large extent, our future ability to own, shoot, and carry guns depends on getting women involved with shooting.
Women manage family schedules, family budgets, they vote, and they share their interests with others.
To be clear, we don’t just want more women “involved”…we want women to be safe, responsible, and effective shooters.
So, this Mothers’ Day weekend, if you want to get a taste of the training that we did at Conference, check out this free tactical vision training presentation or this free counter-assault training presentation and, if you want to take the next step and learn how to build hours of skill in minutes of training just sign up for the training I mention at the end of the presentations. And here’s something to sweeten the pot…for everyone who signs up for Automatic Aiming or Praxis this weekend, I’ll donate access to the full training to A Girl and A Gun 🙂
Questions? Comments? Fire away by commenting below…
Leave A Response